윈도우즈 터미널(Windows Terminal) 설정하기
2020년 5월에 드디어 30년만에 새로운 Windows terminal 이 릴리스 되었습니다.
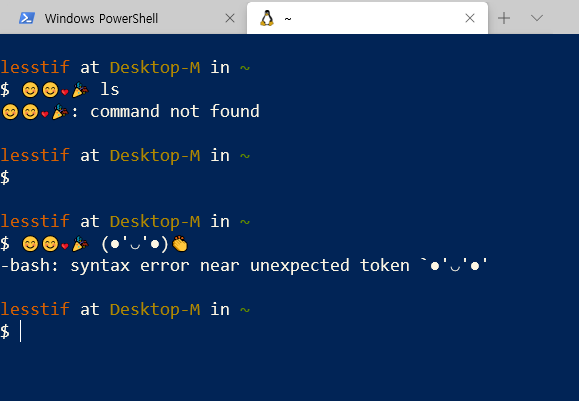
Windows Terminal 은 ANSI 코드도 지원하지 않은 예전 터미널과는 달리 UTF-8 기반이라 Emoji, 아이콘등을 표시할 수 있으며 GPU 가속을 사용하므로 렌더링 속도가 빠르고 WSL(Windows Subsystem For Linux) 과 연계가 강화되어 편리하게 사용할 수 있습니다.
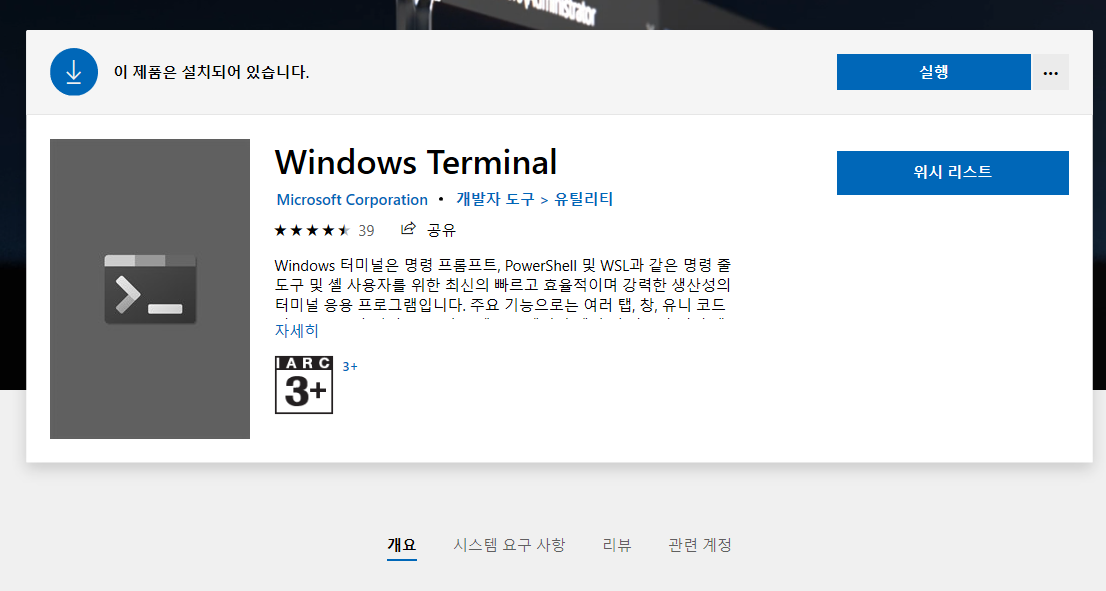
사용하려면 Windows Store 에서 "terminal" 을 키워드로 검색해서 설치해주면 됩니다.
설정
설정하려면 우측 상단 창에서 아래 화살표 모양을 누르고 메뉴에서 설정 을 클릭하거나 Ctrl + , 키를 누르면 됩니다.
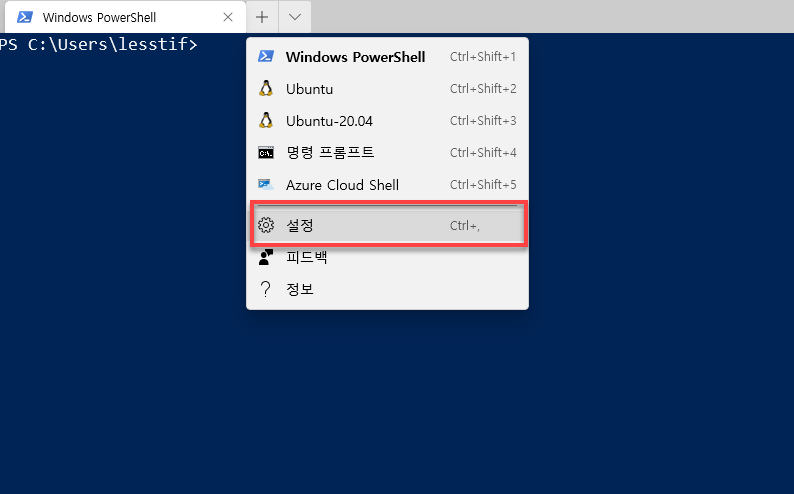
아직 GUI 방식의 설정은 제공하지 않으며 직접 json 형식의 profile 을 수정해야 합니다.
아래는 제가 사용하는 Terminal 설정 파일입니다.
Power shell 이나 cmd, 또는 WSL 의 리눅스 인스턴스를 연결해서 바로 실행할 수 있으며 멀티 탭을 지원합니다.
인스턴스는 설정중 list 필드에 배열 + object 형식으로 넣어주면 됩니다.
"list":
        [
            {
                // Make changes here to the powershell.exe profile.
                "acrylicOpacity" : 0.5,
                "background" : "#012456",
                "closeOnExit" : true,
                "colorScheme" : "Campbell",
                "commandline" : "powershell.exe",
                "guid" : "{61c54bbd-c2c6-5271-96e7-009a87ff44bf}",
                "icon" : "ms-appx:///ProfileIcons/{61c54bbd-c2c6-5271-96e7-009a87ff44bf}.png",
                "name" : "Windows PowerShell",
                "startingDirectory" : "%USERPROFILE%"
            },
            {
                "guid": "{2c4de342-38b7-51cf-b940-2309a097f518}",
                "hidden": false,
                "name": "Ubuntu",
                "colorScheme" : "Solarized Dark",
                "source": "Windows.Terminal.Wsl",
                "commandline": "wsl.exe ~"
},Theme
colorScheme 키워드에 사용할 테마를 지정해 줄수 있으며 저는 Power shell 은 기본 설정인 Campbell 로 리눅스는 "Solarized Dark" 로 설정했습니다.
또 defaults 항목에 기본 테마를 설정하면 특별히 지정하지 않을 경우 기본 테마를 사용합니다.
"profiles":
    {
        "defaults":
        {
            // Put settings here that you want to apply to all profiles.
            "acrylicOpacity" : 0.5,
            "background" : "#012456",
            "closeOnExit" : true,
            "colorScheme" : "Solarized Dark",
            "cursorColor" : "#FFFFFF",
            "cursorShape" : "bar",
            "fontFace" : "FiraCode, D2Coding",
            "fontSize" : 14,
            "historySize" : 9001,
            "padding" : "0, 0, 0, 0",
            "snapOnInput" : true,
            "useAcrylic" : false
},단축키
keybindings 항목에 action 별 단축키를 지정할 수 있습니다. 기본 복사/붙여넣기는 Ctrl+Shift+C와 Ctrl+Shift+V 라 아래 설정으로 Ctrl-C, Ctrl-V 로 변경했습니다.
 "keybindings":
    [
        // Copy and paste are bound to Ctrl+Shift+C and Ctrl+Shift+V in your defaults.json.
        // These two lines additionally bind them to Ctrl+C and Ctrl+V.
        // To learn more about selection, visit https://aka.ms/terminal-selection
        { "command": {"action": "copy", "singleLine": false }, "keys": "ctrl+c" },
        { "command": "paste", "keys": "ctrl+v" },

        // Press Ctrl+Shift+F to open the search box
        { "command": "find", "keys": "ctrl+shift+f" },

        // Press Alt+Shift+D to open a new pane.
        // - "split": "auto" makes this pane open in the direction that provides the most surface area.
        // - "splitMode": "duplicate" makes the new pane use the focused pane's profile.
        // To learn more about panes, visit https://aka.ms/terminal-panes
         { "command": { "action": "splitPane", "split": "vertical", "splitMode": "duplicate" }, "keys": "alt+shift+v" },
        { "command": { "action": "splitPane", "split": "horizontal","splitMode": "duplicate" }, "keys": "alt+shift+h" },
        { "command": { "action": "splitPane", "split": "auto", "splitMode": "duplicate" }, "keys": "alt+shift+a" },
        //closePane
        { "command": "closePane", "keys": "alt+shift+w" },

        // switching pane
        { "command": { "action": "moveFocus", "direction": "down" }, "keys": "alt+down" },
        { "command": { "action": "moveFocus", "direction": "left" }, "keys": "alt+left" },
        { "command": { "action": "moveFocus", "direction": "right" }, "keys": "alt+right" },
        { "command": { "action": "moveFocus", "direction": "up" }, "keys": "alt+up" },

        // resizing pane
        { "command": { "action": "resizePane", "direction": "down" }, "keys": "alt+shift+down" },
        { "command": { "action": "resizePane", "direction": "left" }, "keys": "alt+shift+left" },
        { "command": { "action": "resizePane", "direction": "right" }, "keys": "alt+shift+right" },
        { "command": { "action": "resizePane", "direction": "up" }, "keys": "alt+shift+up" },

        // close window
        { "command": "closeWindow", "keys": "alt-f4" }

]Terminal 은 Pane 을 분할하는 기능을 제공하는데 저는 세로 분할은 alt+shift+v, 가로 분할은 alt+shift+h, Pane 닫기는 alt+shift+w로 설정해서 사용중입니다.

Pane 간 전환은 alt 키와 화살표키를 사용하면 됩니다. 예로 좌측의 Pane 이로 전환하려면 alt+left, 위는 alt+up입니다.
Pane 의 크기를 조정하려면 alt+shift 과 방향키를 눌러서 조정해 주면 됩니다.